Common Candle Care
With the highest melting point of all wax candles, your beeswax candles are made to last! The best way to make the most of every burn is to follow simple steps to ensure you're practicing candle safety and best burning practices.
If you have questions concerning your candles or need further help maximizing your burn, please feel free to contact our team.
Important Things to Remember for All Candle Care
- Never leave burning candles unattended.
- Keep burning candles away from children and pets.
- Always trim wicks to 1/4" before every lighting.
- Longer burns may reduce overall burn time, and increase the likelihood of drips.
- Always burn candles on a flame-resistant surface. To protect surfaces from wax drips or spills, use a plate, candleholder, or tray under each candle.
- Always wait until a candle has cooled completely before re-lighting a candle between burnings.
- Always wait until the candle has cooled completely before picking up or moving the candle.
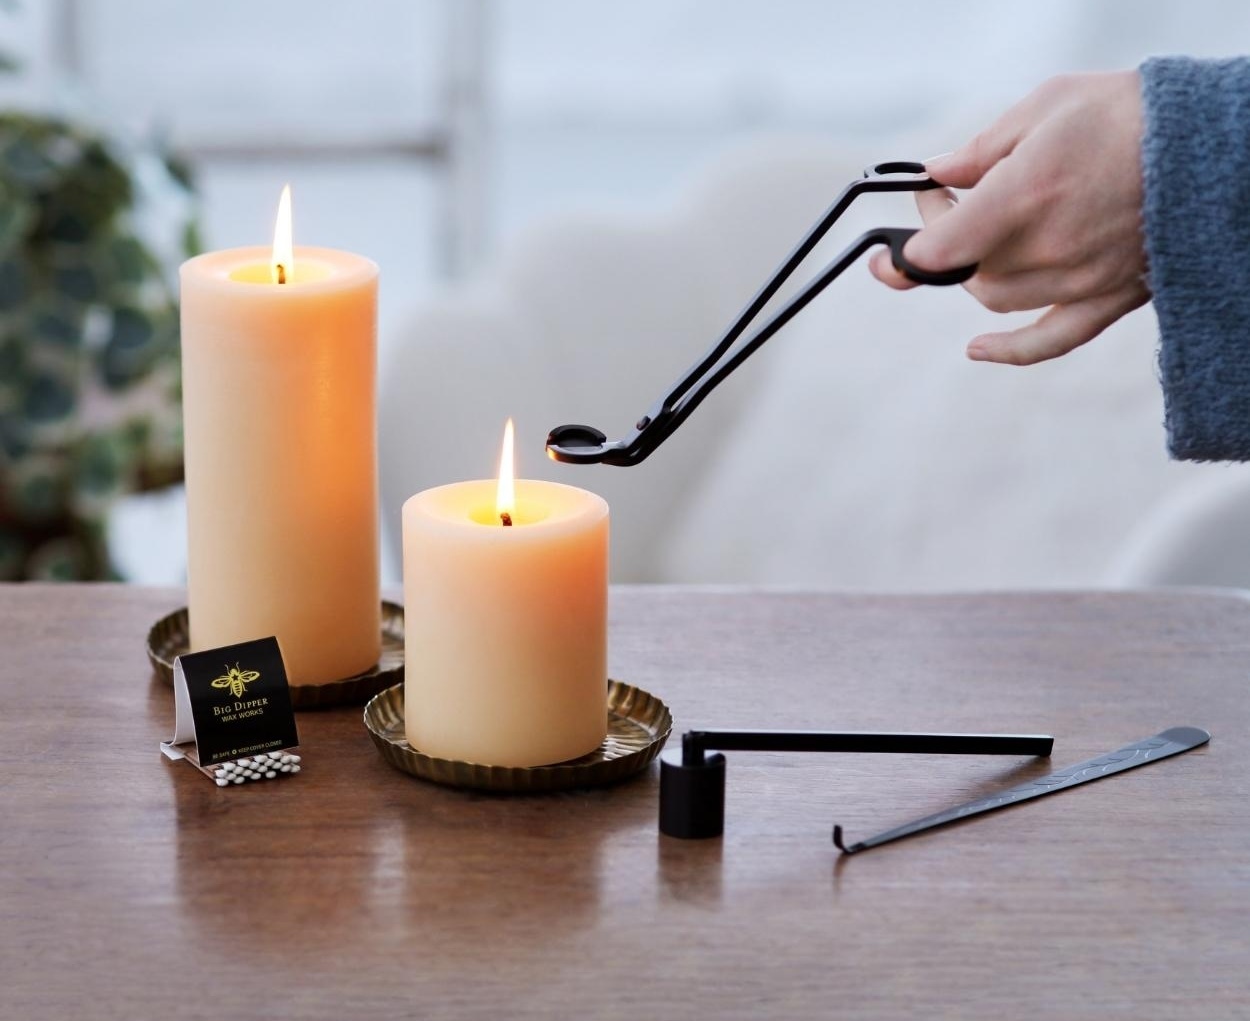
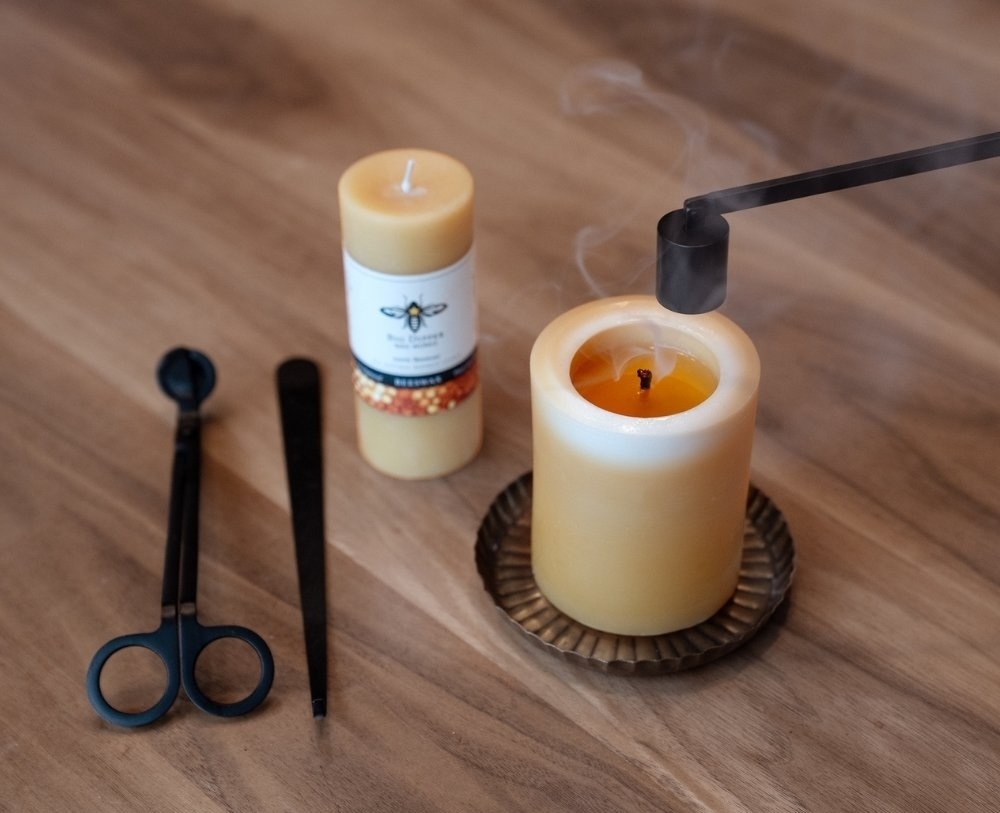
Smoke, Drafts, and Tunneling
To reduce smoke when extinguishing the flame, use a tool to dip the wick down into the wax pool and lift it back up to re-straighten as soon as the flame is extinguished.
Burn candles in a draft-free environment away from fans, open windows, air ducts, etc. for safety and to prevent dripping and tunneling. Drafts are the number one source of uneven burning and can be caught immediately if the flame is moving wildly.
In a draft-free environment, the flame should have little to no flickering. To burn candles outdoors or in drafty areas use a hurricane-style glass to protect the candle flame, use a hurricane glass that leaves at least 2” of space around the candle.
Place candles at least three inches apart from each other. Candles that are placed too close together can melt one another and create their own drafts that can cause improper burning.
Maximize Your Burn
To preserve the scent of your favorite aromatherapy candles, keep candles in an enclosed container between burning, re-cover with the lid for our jar and tin styles, or use a candle cloche.
For best burn results store unused candles in an airtight container and use within a year of purchase.
Colder room conditions (below 60 F) may cause the candle to tunnel and struggle to consume the wax efficiently. Hot room conditions (over 77F) may cause the candle to burn faster than advertised.
Bloom on Beeswax Candles
Noticing a frosted appearance on the surface of your beeswax candle? That’s called bloom. Bloom is the sugar that rises to the surface of the wax and will occur on all beeswax over time, but most often when the temperature changes from warm to cold.
Though some enjoy the look of bloom, it can be gently wiped off with a soft cloth, thus restoring the distinctive luster of the beeswax. You can also heat your candle gentle with a hair dryer to remove the bloom.
Bloom is your assurance that your candle is made from pure beeswax.
